

the ASK: I like to switch up groupings of students on a regular basis and am always wondering how do make those transitions as seamless as possible.
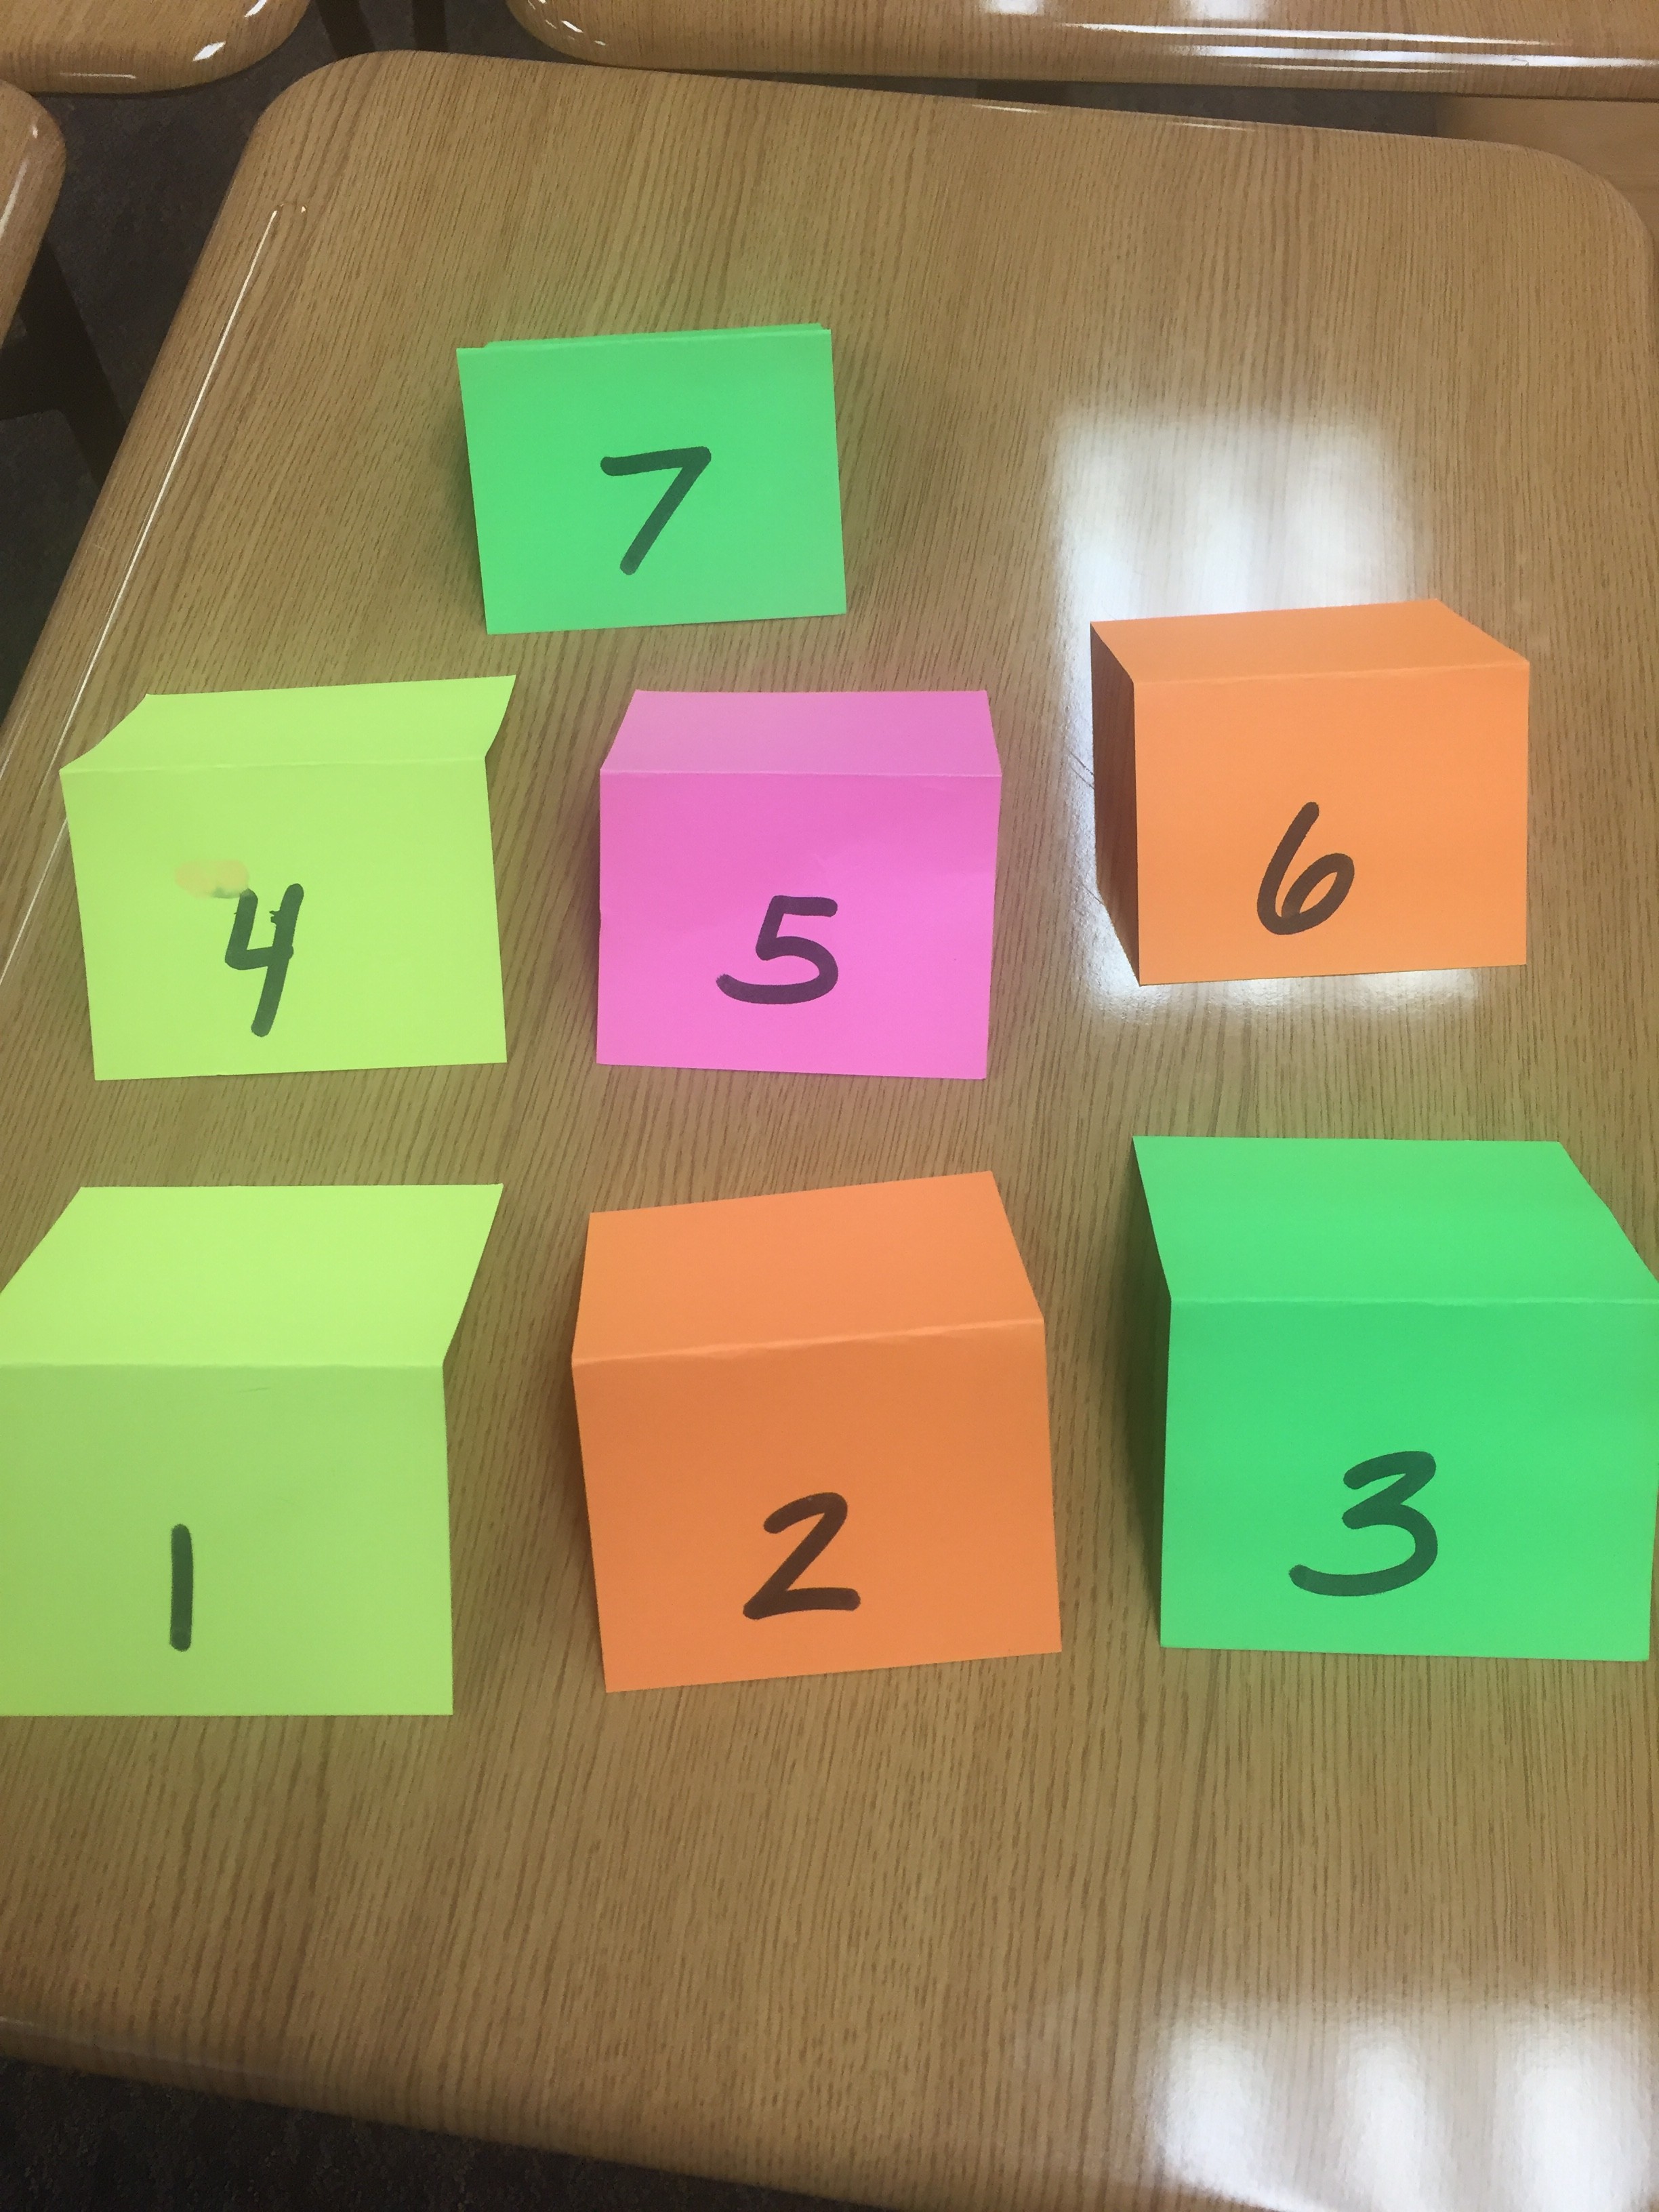
the TRY: Each student gets a magnet with his/her name on it. (For details on making these, see below.) I leave the magnets up on a white board in the room all the time and when they walk in and see the table tents placed on groups of desks, they know they have new groups and can quickly find out who they’re working with by going to the whiteboard.
the LEARN: Differentiating and grouping is part of the on-going cadence of the classroom and having a simple, clear way of implementing it helps us save time and keep our focus on the learning instead of the logistics.
Making the magnets…
Here’s my four-step magnet DIY.
- Purchase business card size magnets from the local office supply store.
- Collect business cards (often the school office has these) and place them on the adhesive side of the magnets.
- Cover the business cards (now on the magnets) with black board spray paint.
- Use a chalk marker to label with student names, making them easy to reuse the next semester!
order tricor without prescription order tricor 200mg pills tricor over the counter
tadalafil usa buy tadalafil 40mg online buy sildenafil 100mg
ketotifen tablet order doxepin 75mg without prescription order imipramine 75mg pills
purchase minoxytop for sale tadalafil 5mg cost red ed pill
purchase acarbose pills cheap prandin 1mg purchase griseofulvin online
aspirin pills eukroma us purchase imiquimod
meloset 3 mg cost buy danocrine 100mg without prescription buy danocrine without prescription
purchase dipyridamole pills purchase plendil online order pravastatin without prescription
brand duphaston 10 mg januvia pills empagliflozin 25mg uk
buy generic fludrocortisone online where to buy dulcolax without a prescription loperamide pills
prasugrel 10 mg pill cheap prasugrel 10mg order detrol 2mg for sale
ferrous sulfate for sale online buy ferrous sulfate online where to buy sotalol without a prescription
vasotec pill buy doxazosin pills for sale buy duphalac bottles
canadian online pharmacy no prescription
betahistine 16mg pills order haloperidol 10 mg generic benemid 500mg pills
buy cenforce 100mg pills buy naprosyn pills for sale order chloroquine for sale
where can i buy modafinil provigil 200mg ca prednisone 5mg pills
purchase cefdinir generic buy glycomet pill prevacid 30mg sale
buy absorica generic buy amoxicillin 500mg online cheap azithromycin 250mg over the counter
lipitor 10mg cheap lipitor over the counter buy amlodipine 10mg without prescription
real money casino online usa best play money poker sites lasix 100mg sale
online slots real money usa casino online roulette real money buy ventolin inhalator online cheap
free casino slots casino online ivermectin 12mg without prescription
generic symmetrel 100mg tenormin uk buy avlosulfon for sale
free slot play clavulanate canada levoxyl price
canadian drug prices
canada pharmacy online no prescription
clomiphene 50mg oral generic clomiphene imuran 25mg sale
buy generic levitra lanoxin 250mg brand zanaflex for sale
ed drugs online
coversum generic clarinex tablet fexofenadine 120mg usa
dilantin 100 mg drug order oxybutynin 2.5mg sale purchase oxytrol pills
В поисках идеального казино для игры на деньги, я обратился к Яндексу, и на первом месте вышел сайт caso-slots.com. Там я обнаружил множество различных казино с игровыми автоматами, а также бонусы на депозит. К тому же, на сайте есть полезные статьи о том, как правильно играть, чтобы увеличить свои шансы на победу!
order lioresal ketorolac oral purchase toradol generic
claritin medication cost priligy 90mg generic priligy 90mg
brand fosamax buy cheap generic gloperba macrodantin 100 mg drug
buy cheap generic propranolol clopidogrel 75mg pill buy generic plavix
purchase pamelor online nortriptyline usa paracetamol online
buy medex generic order coumadin 5mg pill reglan online
brand xenical buy xenical without a prescription diltiazem sale
order famotidine generic buy tacrolimus 1mg generic purchase prograf generic
astelin uk buy irbesartan 300mg generic buy avapro 150mg pills
brand esomeprazole order topiramate 100mg pill topiramate 100mg brand
buy ranitidine sale order mobic 7.5mg for sale order celecoxib 200mg pills
buy buspin paypal amiodarone 100mg drug purchase cordarone online cheap
flomax over the counter how to get flomax without a prescription zocor tablet
aldactone pill buy valtrex 1000mg brand finasteride 1mg
assignment website buy an essay cheap academic writing article
buy forcan online cheap cipro 500mg price buy ciprofloxacin
sildenafil medication order yasmin generic buy yasmin without prescription
metronidazole 200mg tablet order flagyl 400mg oral keflex 500mg
buy lamictal prazosin 2mg generic mebendazole buy online
purchase cleocin online erythromycin oral fda approved over the counter ed pills
purchase retin order tadalis generic avanafil 100mg brand
trazodone buy online suhagra pill where to buy clindamycin without a prescription
buy terbinafine generic gambling casinos casinos online
buy aspirin 75 mg online play slots online roulette online
academia writing slot games online free play online blackjack for real money
purchase trimox without prescription cheap anastrozole buy generic biaxin online
generic calcitriol 0.25 mg rocaltrol for sale online buy fenofibrate online
clonidine uk meclizine 25 mg over the counter spiriva 9 mcg usa
dermatologist acne treatment pills trileptal 600mg drug order generic oxcarbazepine 300mg
buy alfuzosin without prescription prescription medication for severe allergies nausea after taking pain medication
order minocycline ropinirole 2mg cost requip 2mg price
sleep prescription online sleep meds prescribed online online doctors that prescribe wegovy
order femara 2.5 mg pills abilify 30mg oral abilify 20mg us
drugs used for smoking cessation get prescribe smoking cessation acetaminophen contain pain killer name
order provera 5mg generic buy medroxyprogesterone pill generic hydrochlorothiazide 25 mg
You have a real talent for writing unique content. I like how you think and the way you express your views in this article. I am impressed by your do my assignment for me style a lot. Thanks for making my experience more beautiful.
oral antifungal for skin infection high blood pressure medicine liprosil drink that lower blood pressure
order duloxetine pills glipizide 10mg generic provigil without prescription
[url=https://mostbethu.org]mostbet apk[/url]
Install apk file online casino mostbet – play right now!
mostbet
[url=https://mostbethu.biz]mostbet apk[/url]
Upload apk file online casino mostbet – win today!
mostbet